Hello, want to get in touch?

PLEASE NOTE:

Firstly, thanks for giving this ancient blog some of your valuable time! How did you find it?

Secondly, I must inform you that I no longer own the domain ‘ameliamakes.com’ – if you wish to contact me about purchasing a pattern, or anything along these lines, please email me at amelialrees@gmail.com or drop me a message on Instagram @meliortextiles and I will gladly respond!


Let’s wipe the dust off this old blog!

A baby and a sleep deprived year later and I’ve finally got the time to get nostalgic over my uni years through this old WordPress blog. It amazed me to find that people still visit my old patterns – bad and good – even more so now than when I was actually uploading on a daily basis! It’s definitely motivated me to get my paints out from the garage and start getting creative again.

I’ve been thinking about competitions a lot lately; Tigerprint competitions used to be a lot of fun, every month you had the chance of entering a new competition with a fun brief but it seems they’re taking a break from hosting them. <http://www.tigerprint.uk.com&gt;

Do any of you passers-by know of any surface pattern competitions that you could recommend? I’d love to get re-invloved with surface pattern and get messy with my 1 year old!

See you all very soon


Amelia


I’m back! And I have presents.

A pair of ‘Toile de Jouy’ inspired printed cushions are up for sale on Etsy @ https://www.etsy.com/uk/shop/reesamelia featuring one of my personal designs that I posted earlier in the year during my ‘pattern a day’ challenge. It’s taken me a while to brave listing them, but here they are! More to follow… Keep an eye on http://www.ameliamakes.com or https://twitter.com/ReesAmelia for updates!

IMG_4147 - 3

www.ameliamakes.com

My domain has finally been fixed! My website is now up and running and features my new blog, a pattern gallery and a whole bunch of new things to come (a DIY page full of tutorials!)… 

You can find it at:

http://www.ameliamakes.com

Check it out and let me know what you think. Still feel free to leave pattern requests and suggestions for products/website ideas, those have been super helpful this year!

See you over there 🙂 

Pattern 42

Pattern 42

I know these are starting to look the same, but there are differences I promise. The 5th addition to my final collection.

Pattern 41

Pattern 41

The best feeling ever is when one of these patterns is finished! The worst feeling ever is sitting at my desk with a blank sketchbook page to be filled. Only a few more to go!

Pattern 40

Pattern 40

A mixture of the previous two ‘toile de jouy’ attempts.

Pattern 39

Pattern 39

So, my first ‘toile de jouy’ pattern attempt will be the design I expand on for my final collection. Here’s a (quickly-made!) coordinating pattern; this one’s theme is Welsh castles!

Pattern 38

Pattern 38

Thought i’d fit a quick pattern in before choosing one for my final collection. Hand drawn and repeated in Photoshop.

Pattern 37

Image

I’m SUPER glad I finally got around to giving this one a go! ‘Toile de Jouy’ inspired pattern attempt (i’m sure the first of many) featuring pieces from old patterns.
A mixture of hand-drawn, hand-painted, digitally drawn and photographic work. Repeated and edited in Photoshop CS4.

(Click image to see it larger)

Patterns into Products!

My patterns are finally on products (even if it is just cards)!

All of these will be available to buy for super cheap prices through my Etsy store as of Monday. all cards are customisable and I can create personal designs for no extra price. All profits go towards the London Met Textile Design students ‘New Designers’ fundraising. 

You can read more about it here: http://tinyurl.com/lytbewx

Image


Image


Image


Image


ImageImageImageImageImageImageImageImageImageImageImageImageImage


Pattern 36

Pattern 36

Hand-drawn Dogtooth (or ‘Houndstooth’) pattern. Just a simple pattern until the more detailed one i’m working on is ready! Drawn with fine-liners and repeated in Photoshop.

Pattern 35

Pattern 35

London inspired pattern. Hand drawn with ProMarkers and repeated in Photoshop CS4.

Work-in-progress

Work-in-progress

Making progress finally! Should be done with this pattern by the end of today.

Pattern 33

Pattern 33

I’m working on a ‘London’ themed pattern and thought i’d make a quick one out of the telephone box! Hand painted and repeated in Photoshop CS4.

Work-in-progress

Work-in-progress

A new pattern is finally underway!

Work-in-progress

Making progress on the ‘woodland animal’ themed pattern. I have a few more sketches left to do before I can start playing around in Photoshop.
Image

Pattern 31

Pattern 31

The reindeer from the woodland animal pattern i’m working on. I thought i’d put together a basic pattern to give you an idea of what I’m working towards! Hand drawn and repeated in Photoshop CS4.

Pattern 30 – Extra

Pattern 30 – Extra

Bit of an alternate layout. Hand drawn and repeated in Photoshop CS4.

Pattern 30

Pattern 30

Collection of old school games console controllers. Hand drawn and repeated in Photoshop CS4.

Printed Fabrics

I thought i’d quickly attempt to show some of you a very basic way of turning a paper design into a fabric print.

1) Creating an image to screenprint.

Image

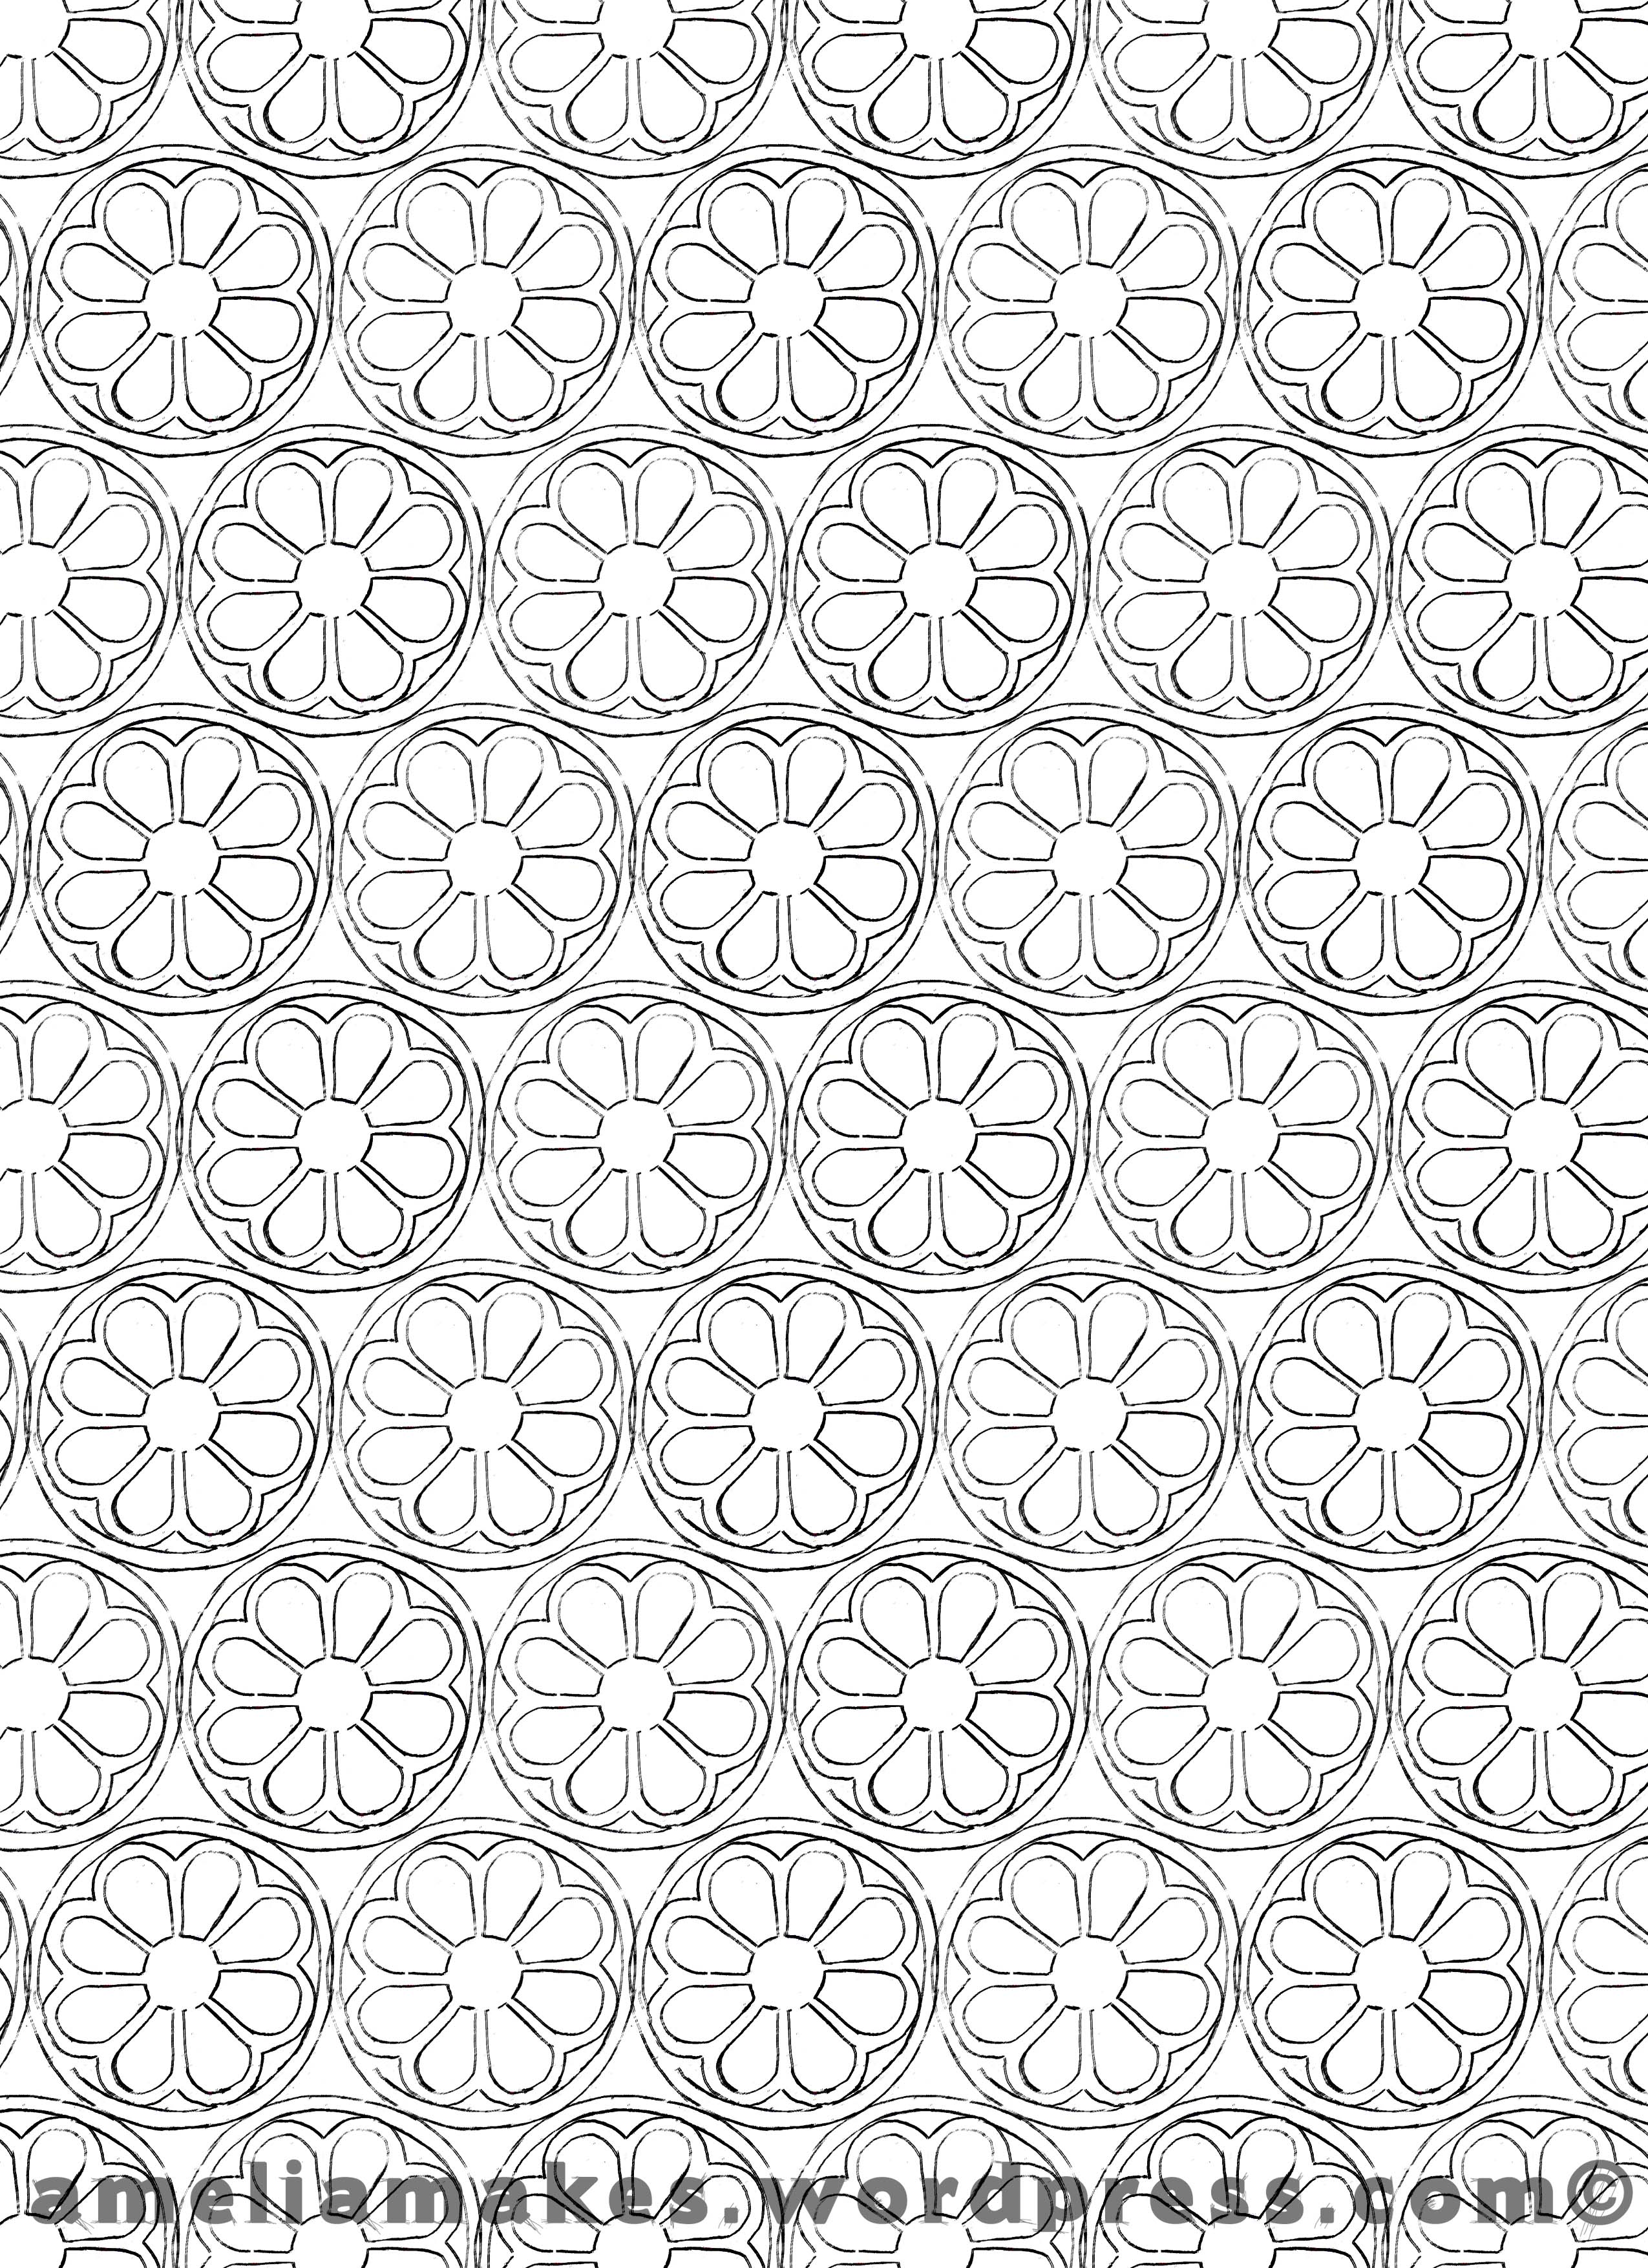
I’ve used this cat design from my pattern-a-day challenge. This image is going to be transferred onto a screen. It’s always safer to keep designs bold, avoiding fine lines and small details. It’s also a lot easier to print in one colour, so it’s best to design an image with that in mind.

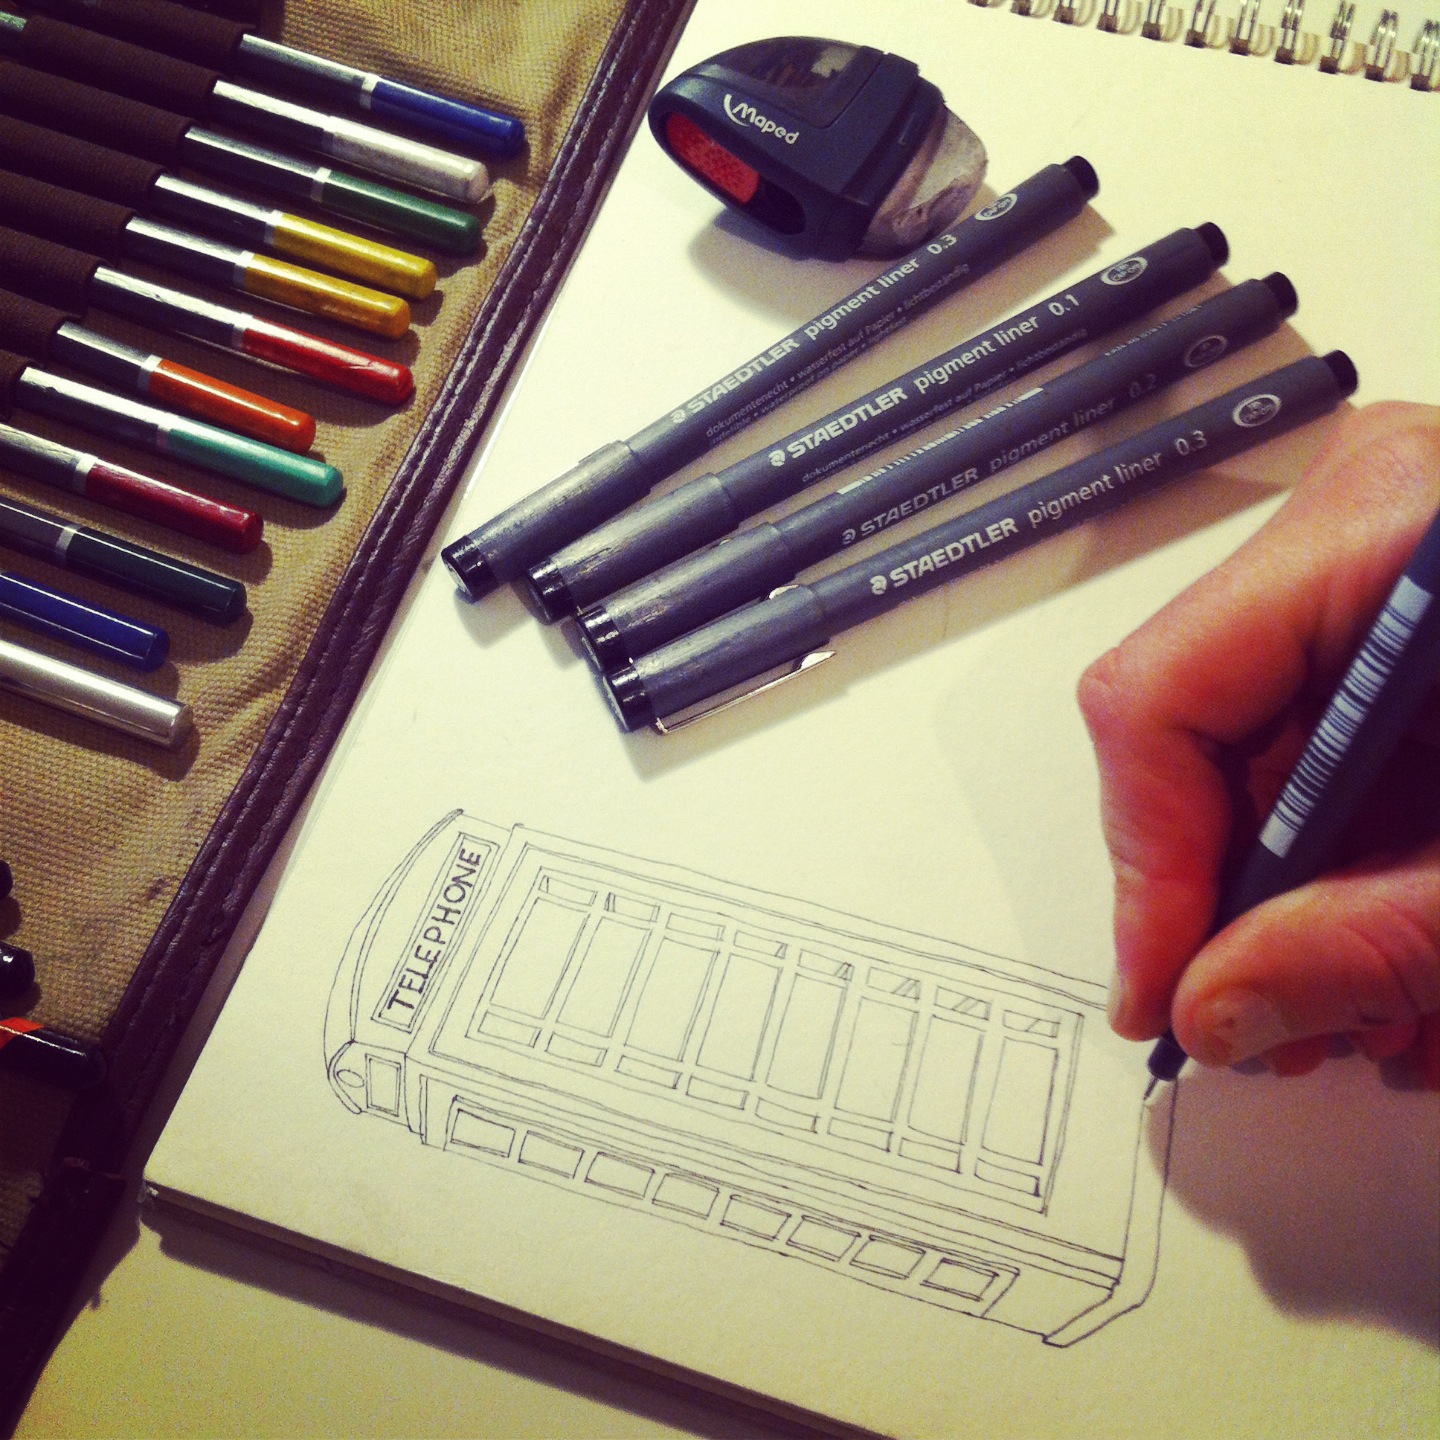
Once the design has been finalized it needs to be printed or hand-drawn/painted onto either inkjet film or ordinary white paper. For this particular process, I printed it onto ordinary white A2 printer paper.

2) Preparing the screen

Image

A screen is simply just woven mesh pulled tightly over a metal or wooden frame. You can get them in all sorts of sizes and weave densities. In order to get the chosen image onto the screen, the screen must first be coated in a photosensitive emulsion. You need to act pretty fast with this step as the emulsion starts reacting as soon as it’s exposed to light. Once it’s evenly coated, the screen goes into a drying rack, or a warm dark place, until the emulsion is completely dry. It’s super important that the screen is kept in total darkness whilst it dries.

3) Exposing the screen

Image

Once the emulsion has dried the printed image needs to be selotaped to the coated screen. It’s important that a clear tape is used as anything opaque will show on your final prints.

The screen then needs to be exposed to light. There are a few home-made methods for doing this but I was able to use the exposure unit at my university. (An exposure unit is basically a large light box with a lid that omits powerful UV light onto the screen for a selected amount of time).

4) Washing away the emulsion

Image

The screen must be immediately washed to remove the specific areas of photosensitive emulsion that didn’t react with the light.

When in the exposure unit, the cats (being solid and black) blocked any light from hitting the coated screen, whereas the white areas of the paper allowed light to pass through creating a reaction with the photosensitive emulsion. This reaction causes the emulsion to bond with the screens mesh. After a good scrub, you’re left with your very own permanent stencil! This screen is pretty stained from previous uses but you can hopefully see how the photosensitive emulsion has washed away where the black cats on my design were – where the light had no contact with the emulsion. So now think of the cats as holes in the screen, like holes in a plastic stencil.

5) Printing!

Image

After already preparing the fabric and taping it to a printing table – or any flat surface – the screen needs to be carefully positioned and weighted down to stop it from shifting while printing. The next step is pretty simple… dollop some mixed up dye into the top edge of the screen and use a squeegee to evenly drag the dye down the screen. This part needs to be repeated about 2 or 3 times to ensure the dye has been completely evenly coated. Carefully lift the screen away from the fabric, and voila! Your own printed fabric.

And then.. 

If you’re a super nice friend, you can make them into cushions for your buddy.

Image

Image

Image

Does any of this make sense?

Pattern 12

Pattern 12

NOVEMBER 15TH. I don’t think i’ve posted a floral pattern yet, so finally, here’s my floral pattern attempt! Another not-so-great one, apologies! I’ll get back on track soon 🙂 Hand painted with watercolour and repeated in Photoshop CS4.